Preparing the Photographic Travel Kit
Posted on: 23 Nov 2011
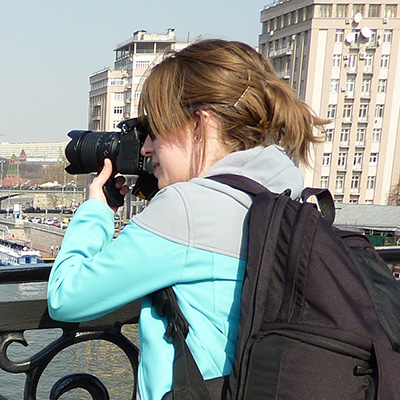
Written by: Ngaire Ackerley
 How often do you travel with just your camera without considering the potential weather conditions and then finding that you can’t shoot photographs because you don’t want to ruin your camera?
In a few days time I’ll be in the depths of Africa. Heading into the rain, dust and wilderness of Kenya, Uganda and Rwanda has made me think carefully about what I need to bring without paying an arm and a leg in preparation for the trip. My other major concern is weight, since I’ll be hiking through forests and on uneven ground I don’t want to be carrying too much.
The list below is a few considerations I went through before packing for my trip, so if you’re an avid traveller and photographer, I hope this may be of benefit to you too:
1. Insurance
It’s not exactly a physical part of the photographic kit, but it’s one of the most important. If you are relying only on travel insurance and not specific camera insurance, check out exactly what it covers and doesn’t cover.
- Does it cover the value of your camera today or when you purchased it?
- Is it new for old replacement?
- Can you afford the excess?
- Does it cover accidental damage and loss? Insurers may cover you if you break your camera as long as you have the pieces to show them; however, many won’t cover you if you drop your camera over the side of a boat or cliff and can’t retrieve it.
2. Camera bag
Consider where you’ll be going. If you’re hiking through wilderness a backpack camera bag will be easier and more comfortable to wear than a one shoulder strap bag and it will keep you more balanced if you’re on uneven ground.
- Is your bag waterproof? If not, get a waterproof cover or decent plastic rubbish bag.
- Will your camera bag fit all your equipment in it as well as the odd bit of clothing or food?
- Is it secure and easy to manage for the tasks you are planning.
3. Camera cover for rain
There are plenty of expensive options out there to purchase camera covers to protect your camera in the rain, and to be fair depending on how much you’ve spent on your camera it may be worth spending a bit extra. However, I’ve found some potential alternatives.
 Try a decent quality plastic rubbish bag, create a hole for your lens and pop a rubber band around it carefully and attach the lens hood to minimise the raindrops on the lens.
- Try some waterproof trousers – chop the leg off and use that to fit over your camera lens.
4. Filters
UV filters are good for not only haze but also protecting your camera lens in many ways. They aren’t as expensive as polarising filters and make a worthy addition.
5. Lenses
Obviously one of the most important parts of your kit. So how do you decide which lenses to carry with you?
- Where are you going and what will you be shooting? This question will help you decide what sort of size and type of lens you will want to carry.
- What will happen if you drop your one favourite lenses or it malfunctions? Should you consider taking a back-up lens for your most popular one?
6. Cleaning equipment
This almost goes without saying, but just in case… remember microfibre cleaning cloths, lens cleaning fluid and an air brush.
7. Memory Cards and Batteries
Consider how long will you be away for and how many opportunities you will have for photography. Size and speed is important for memory cards, particularly if your camera can also do video. My advice is take a few memory cards in case one gets damaged or goes missing, then you will not have lost all your images.
As for batteries, will you have access to power so that you can plug in a battery charger or should you take a couple of extra batteries?
8. Tripod or no Tripod?
To take the extra weight and size or not….
- Ask yourself what sort of things you will be shooting? Landscapes with a 50mm lens, animals on a 200mm lens, or far away objects on an even larger lens? The larger the lens, the more likely it is that you will need a tripod.
- What time of day will you be shooting? As the sun goes down so does your camera’s shutter speed, which means you need a tripod for stability.
- Consider your camera and lens image stabilization. Some cameras in the Nikon range have VR (Vibration Reduction), offer added stabilization that may be of assistance.
9. Flash
How good is the lighting on your camera?
Test it out with different ISOs and the built in flash, if you automatically bring an external flash it is an extra weight in your bag for no reason, unless you’ll be shooting in low light and you’re camera does not have decent clarity at a high ISO setting.
10. Do you need a back-up camera?
Imagine landing on the start of a month trip away, and dropping your camera as soon as you step off the plane… devastated much?
Well, consider taking a back-up camera. Would you be happy enough with just a point-and-shoot camera if your SLR broke or do you need to have another SLR camera body as back-up?
The list could go on, but those are the basic considerations I’ve made in preparation for my African expedition, many of these points relate to weight and how much you want to carry. You’re the one who is going to have to carry the camera gear on your back for hours, days or weeks – how will you handle it?
I’ll be back in mid-December – hopefully with some great African images to display on this site so keep an eye out!
Have you got any extra tips? Please leave a comment below if you’d like to share.
« Back to Blog